Related Posts Plugin for WordPress, Blogger...

Saturday, December 28, 2013

Past Projects · Border-Print Regency


This dress was my second-ever Regency dress- I made it 8 years ago.  (Oh my.  That makes me feel ancient.)  The fabric is a linen/cotton blend, and I found it on super-clearance at JoAnns and it seemed ideally suited to this style.  While the pattern isn't historically-appropriate enough to meet my standards nowadays, I'm still rather attached to it anyway. ;-)

I used Sense and Sensibility's "Elegant Lady's Closet" pattern for the dress, and added darts on the sides of the skirt, to get a smooth fit.  The skirt is pleated in the center back.

The bodice has under-gone a minor alteration- the original pattern has pleats on the shoulders, but even with a few "fixes" I tried, it kept pulling off my shoulders or else just looking bad.  So, I recut the front neckline after a few years. :-)  Hindsight being what it is.... I really don't like how low the back of this dress is, especially with long sleeves.  It gives an odd look, and is rather cold.  A chemisette fixes all those problems, though. :-)

This was my first time using this pattern (I've since made it thrice more) and I ran into major (MAJOR!) issues with the sleeves.  I was still in the Modern Fitting Mindset, and the armholes were a source of much frustration.  They are set very far back, and I didn't understand all the nuances involved in that.  On my (13!) mock-ups, I put the gathering all along the back of the armhole.  That caused odd "mushroom"-looking sleeves which were distasteful to both modern and period sensibilities. ;-)  Thus followed the 13 mock-ups trying to get a better looking sleeve.  I ended up with a sleeve that was better, but certainly not good.  After a few years, I realized that the best way to use the pattern is to concentrate the gathers tightly between the shoulder and side back seams.  A few years ago, I ended up piecing the sleeve cap of this dress to add back the room I had cut down and also re-set the sleeves.  Much better.  And hey- piecing is totally period! ;-)


My turban is a wool/silk shawl wrapped willy-nilly around my head, following the instructions on these two sites.  After a short learning curve, it is a very easy (and forgiving!) hairstyle. :-)


My chemisette was made from a very fine, sheer cotton curtain I found for free at a garage sale.  It is ideal fabric for accessories, and has furnished enough for several projects already!  It is a very basic shape, and can adjust to many different necklines.  It was the very best and most effective accessory I've ever made- no exaggeration!  I feel like it's really taken my regency wardrobe to the next level.  Sometime, I'd really like to do a post about it, so you can see how much of a tremendous difference it makes! :-)


My sequin-y reticule was inspired by an extant example in the Museum of Fine Arts, Boston and while not my most stunning work, is a nice, usable size. :-)


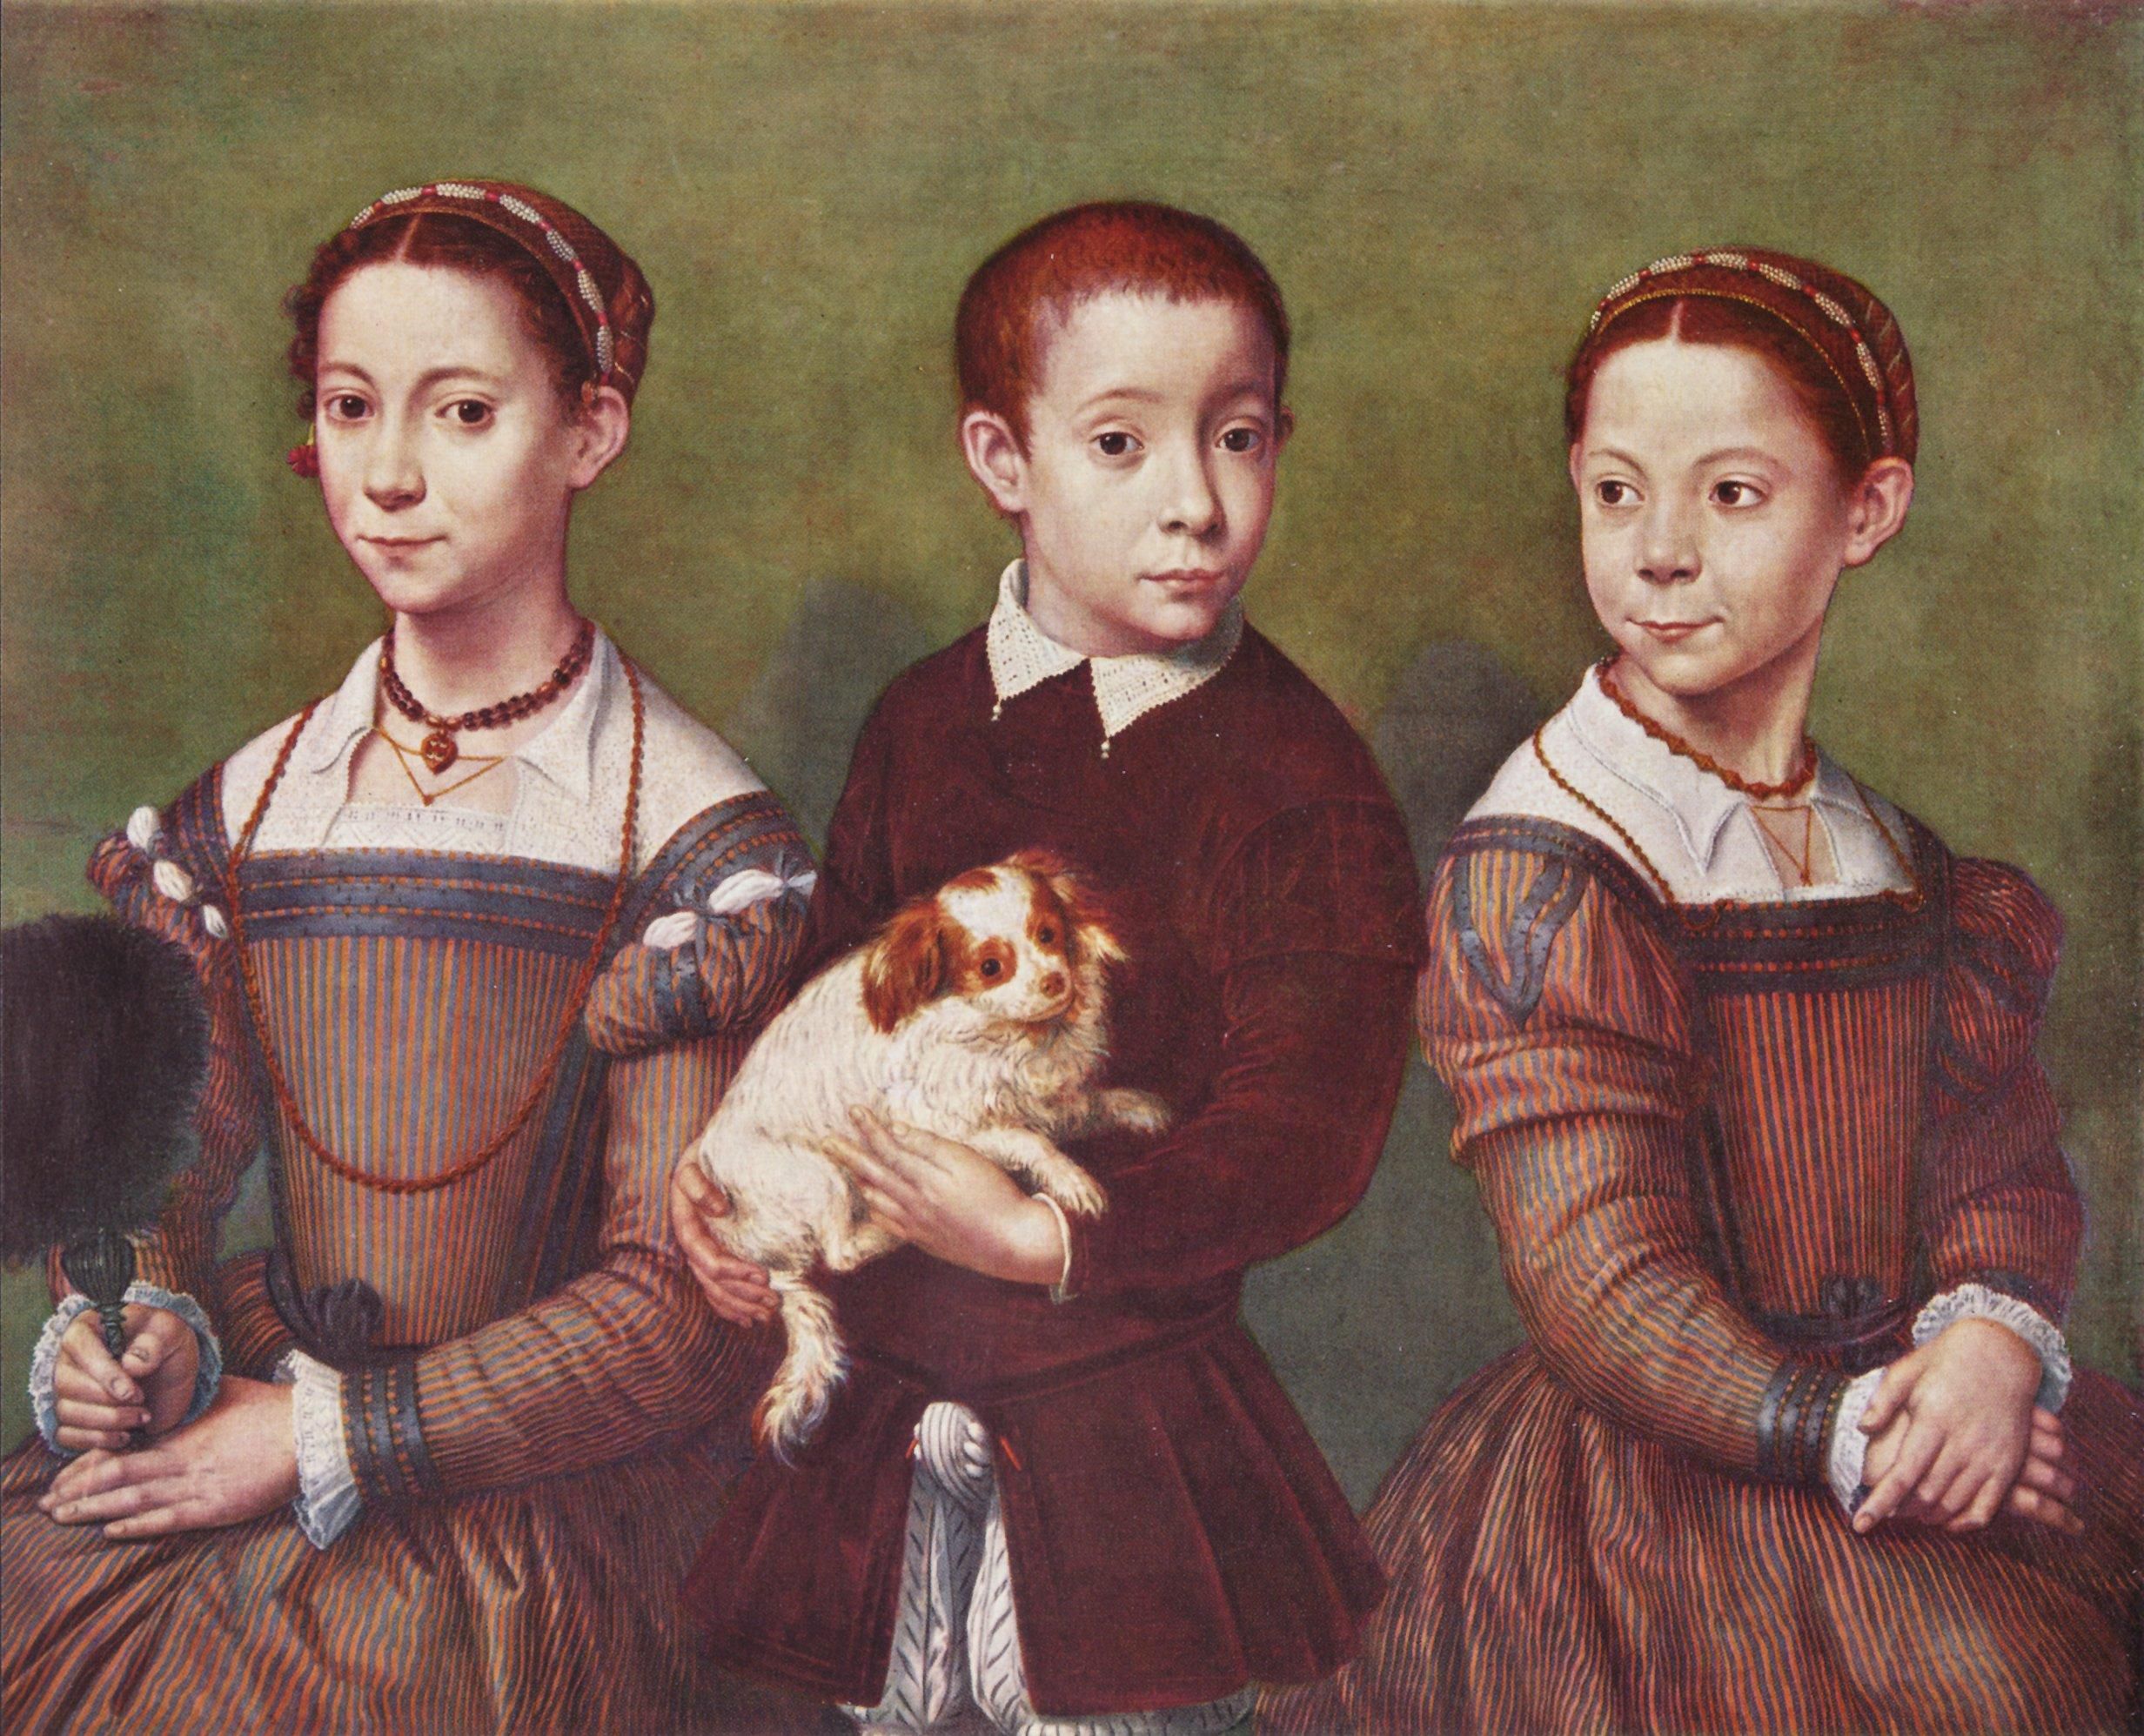
My necklace miniature was inspired by portraits from the period, and I printed off a portrait I liked and put it in a jewelry frame from Hobby Lobby.

Pointy ballet flats from Target a few years ago + ribbons = great early Regency shoes!


· Thanks for the pictures, Kathryn! ·

Saturday, December 21, 2013

· 1930's Style Thrifted Coat ·


I'm constantly on the look-out for great deals on furs at antique stores, so when I came across this coat last spring, I fell in love with it purely for the fur collar.  It is super soft and fluffy, and I was intending to take it off the coat and use it elsewhere.  However, the coat was such a great fit that I'm keeping the collar in its original condition for the foreseeable future. :-)


The coat was originally almost knee-length and the sleeves were sans cuffs.  However, the sleeves were too short on me, and I really needed a coat that could also accommodate my full 50s skirts, too.  So, off went 8" of length and on went cuffs!  I feel like the shorter length also helps give a 30s vibe to the coat- which is always a good thing!


The buttons were originally dark grey, but not being a big grey fan, I replaced them with mother-of-pearl buttons. :-)  I ended up taking in the waist a bit and removing some strange metal decorations that were originally on the "waistband".


Overall, just small tweaks but the coat now feels entirely "me". :-)


· Thanks to Kathryn for the pictures! ·

Saturday, December 14, 2013

Reformation Day 2013 · Dress Details


These dresses were lots of fun to "design" and deduce! :-)  It's a bit like an episode of "Spot the Differences" when we wear them, and I'll point out the differences in this post. :-)  Here's the first post of the series, and here are the "portrait recreation" shots.

For the dress fabric, I wanted something with body so that the skirts weren't too limp, but I also didn't want something too bulky to make the sleeve puffs on my dress.  I also felt that a subtle stripe was a necessity, and under $10/yd was an added difficulty.  We had absolutely no success finding a fabric with colors like the portrait, so we settled on looking for a brown.  After searching around a lot, Mom ended up finding a brown corduroy stripe online, on sale. :-)  I never knew there was a fabric like this- it has stripes of corduroy alongside stripes of plain twill.  I am very pleased with the weight, hang, and overall look of it! :-)

I was able to find 40 yards of black velvet ribbon on eBay for much less than I could find anywhere else.  I figured 40 yards would be enough that I wouldn't have to scrimp on anything; the dresses ended up using about half of that, so if my calculations are correct, I'll have enough to add 3 rows of ribbon to the hem of the skirts next year.  As long as the ribbon doesn't get commandeered for a different project before then.... ;-)


Gretel slaved away figuring out and making these hairnets!  After studying the portrait, I knew that a cloth caul was out of the question, since the cording used to tape their hair is visible.  There isn't a wealth of information out there about daintier hairnets out there, and I knew I wouldn't have time to do all the research and make them so I handed off my preliminary findings to Gretel and let her figure it all out. :-)  After watching the process, I'm completely in awe!!  Silkewerk.com and AnneLiese's site were the main resources she used.  We couldn't source the right kind of silk, so she used cotton crochet thread which was alright, but has definite drawbacks.  Each hairnet is comprised of 1200 knots, and took 12 hours to complete!  She's amazingly perseverant, especially considering that her first net didn't work- so she essentially made 3 hairnets.  Mom beaded the edge with gold seed beads, and Gretel made the beaded headbands, which we sewed into place.

Gretel has a coral necklace with shaped beads, and her partlet has a wide collar trimmed with cotton lace.  We weren't quite sure what the triangular cording was in the painting, but we interpreted that as a braided cord, strung through thread loops in the partlet and secured on the horizontal lace strip.


Her sleeves are a gentle leg-o'-mutton style, with 2 rows of ribbon chevroning in the center.  We ran into a bit of an issue when deciding on her trim placement- the picture seems to show 2 different placements for the trim, with the farther sleeve having a much wider "V".  We ended up coping the most visible sleeve and replicating it on the other.   The dresses close on both sides with hand-worked eyelets and spiral lacing.  This was the first time I've made a dress that closes like that, so it was something to cross off my bucket list. ;-)


Gretel's long coral necklace is worn tucked into the neckline of her dress.  Her waistline is trimmed with 1 row of velvet ribbon and a loopy bow and she has 2 rows of trim on each shoulder.


I used the Eleonora de Toledo pattern from Janet Arnold's Patterns of Fashion 1560-1620 as it had a remarkably similar look to the portrait.  The fact that they were both Italian and from the same era sealed the deal. ;-)  That also gave me an idea of how to make the back of the dress since the portrait was less than helpful in that aspect!  The skirt pattern also came from there- it is flared, with the center front smooth and pleated on the sides and back.  My dress also closes along the sides, near the trim lines.

If you think about it hard enough, you can make out my gold hair-taping on the right picture. ;-)


My coral necklace is worn like normal, and my dress has 3 rows of ribbon on each shoulder.

The fan in action! :-)


I was able to find an amber bead that was a similar shade to the painting, even if not the same shape.  The black glass beads are spaced with bronze-colored pearls.

The partlet is made and lined in linen, with cotton lace on the front inset, and a smaller collar than Gretel's.  You can just make out my thread loops for the cording.  My speculation is that the lace-trimmed portion is the upper edge of their smock- that would undoubtedly be much easier to wear and keep in place than what we did!  As it was, we had to make do with what we had and pin the strips in place.  Room for improvement next year! ;-)


My waistline is trimmed with 2 rows of ribbon, and has a slightly different "bow".


I've wanted sleeves like this for so long! :-)  Since I don't have an appropriate smock to wear with this dress, the linen showing at the sleeves is an added strip of fabric, basted in place.


Thanks for all of your enthusiasm about these dresses- they were such a fun challenge! :-)

· As always, photos by Kathryn! ·

Wednesday, December 11, 2013

· Wool Regency Tailcoat ·


My sewing business keeps me happily busy but my projects usually fall under the alterations or modern custom work category, so when I was asked to make a Regency tailcoat, it was a most welcome change from my normal! :-)  

The original plan was to use the Country Wives tailcoat pattern to make this coat, but after trying on the mock-up it was evident that the pattern was, unfortunately, totally unusable.  The pattern's armholes and neck are alarmingly large- even taking into account a more modern fit, they are much too large for asthetics or movement. 

Thankfully, my friend Gabe was able to make a custom tailcoat draft from Peter's measurements, so I was saved the headache of trying to fumble my own way through a solution. :-)  He makes custom drafted patterns based off of your personal measurements and specializes in 17th- 19th century mens clothing.  Check out his etsy shop for custom garments and patterns!  The new draft worked wonderfully, and looks great! :-)

Unfortunately, I currently only have pictures of it on a hanger.  It (obviously!) looks so much better when it's on, but these will have to suffice for now. ;-)


The tailcoat is machine-sewn, but all finishing details are done by hand.  I pad-stitched the collar and lapels; and it makes me want to get into tailoring more. ;-)


 The coat is made of a medium weight wool and lined in brown polished cotton.  This was my first time doing official hand-sewn buttonholes, and the thought of it was quite intimidating. :-)  I did lots and lots of reading, several practice ones, and then bit the bullet.  I'm very glad that there were only 3 visible buttonholes, and while they are passable, there is a reason I don't have a picture showcasing them... ;-)  I read somewhere that it takes 1,000 buttonholes before you get the hang of it, so I guess I just have 993 more to go. :-P  Great.  I'm a perfectionist and I love instant gratification just as much as the next person! ;-)


The M-notch collar is made of a very soft cotton velvet, as are the buttons and cuffs. 

· Pictures by Kathryn ·

Saturday, December 7, 2013

· Sofonisba Anguissola Painting Recreation ·


This was a very fun project to work on, and it was so fun to see the culmination of 3 years of admiration and planning. :-)  Here's a back-story on what lead up to the project.

My sister Gretel agreed to help out with these costumes so that they would be completed on time.  I'm pleased to report that astonishingly, they were completed in time, with 20 or so hours to spare. ;-)  Since she isn't terribly fond of sewing, she undertook the task of making the jewelry and the hairnets.  She was also very involved in the design process, and helped out with the decision making. :-)  

One challenge that I wasn't expecting from this project was the difficulty in working with 2 sets of eyes.  When interpreting a painting, the perceived garment really changes depending on the perspective!  For example, I was interpreting the dresses as being trimmed with black velvet, whereas Gretel was interpreting it as blue.


We attempted to make the dresses as close as our time and budget allowed.  I'm rather pleased with the result, though there are a few things that we either couldn't understand, or didn't have time for.  In the high-res version, you can see something over the older sister's right ear- I thought it was some sort of tassel or ribbon, while Gretel thought it was a flower.  I didn't have time to research similar-era paintings to get a better clue as to what it is.  Do any of my readers have advice?  Also, the partlet of the elder sister looks to be made of some sort of embroidered fabric or lace.  Does anyone know what kind this is, or how to recreate it?


Since we don't have a younger brother or a dog, we couldn't fully recreate the painting.  However, we substituted the next best things- our dad and our cat, Bingley. ;-)


There are lots more detail shots that I'm excited to share with you all next week! :-)

· Pictures by the fabulous Kathryn! ·
 

Copyright © 2013 Mode de Lis . All rights reserved. | Designed by PrairieRoseDesigns.com